Planting
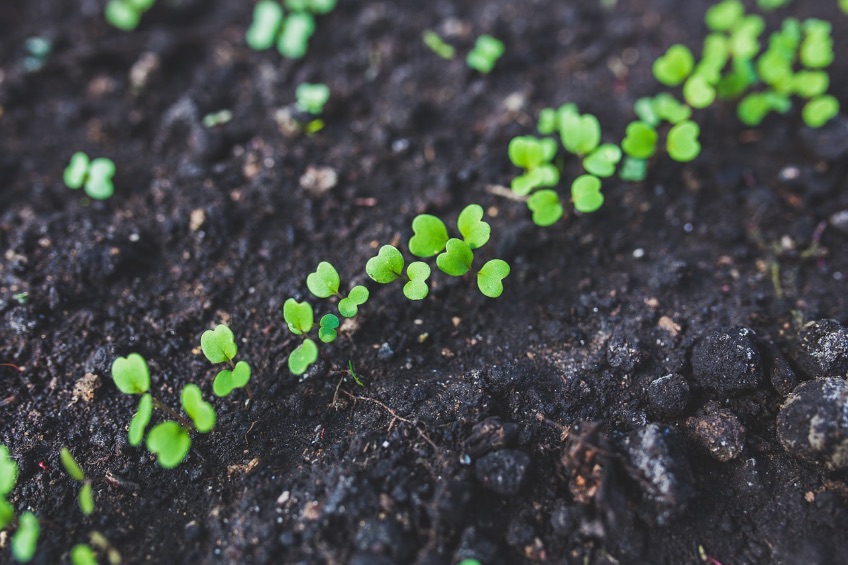
If you can find a plot of land in an urban setting that allows
you to plant in soil, it's worth considering it as an option. But
for the purposes of this guide, we'll focus on planting above soil
in containers because it's likely the route that most urban
gardeners will take. It's also a lot simpler than trying to find a
plot of non-contaminated soil in the middle of an urban
setting.
PLANTING ABOVE SOIL:
The first step is to choose the type of planter container that you're going to use. You'll want to choose your containers primarily based on the types of plants you'll be growing in each one, because different plants need different amounts of soil depth.
Here's a list of some common vegetables and the soil depth they require:
- 4-5 inches: chives, lettuce, radishes, leafy greens, basil, coriander
- 6-7 inches: garlic, kohlrabi, onions, peas, mint, thyme
- 8-9 inches: carrots, chard, cucumber, eggplant, fennel, leeks, peppers, spinach, parsley, rosemary
- 10-12 inches: beets, broccoli, okra, potatoes, sweet corn, summer squash, dill, lemongrass
If you want to get fancy and build wooden planter boxes from scratch, check out the Green Resources section for simple step-by-step instructions on how to do that.
You really don't need to build boxes from scratch though. We
encourage you to think outside the planter box: you can grow a
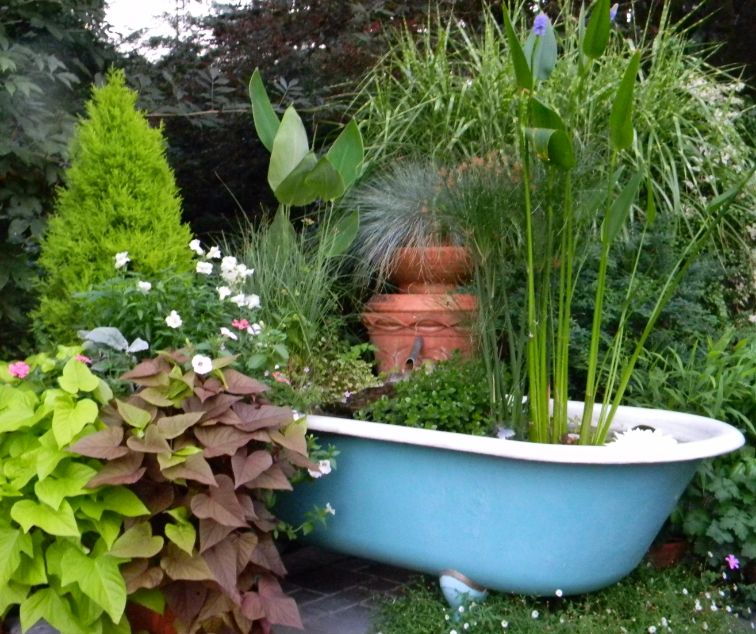
garden in just about anything! Going with an unconventional
container is a great way to keep your costs down, because you can
use almost anything for recycled containers: old bathtubs, toilets,
pallet boxes, or any kind of recycled bin you can find (or
hopefully get for free). Talk to friends, family members, and
neighbors to see what donations you can get your hands on.
PLANTING IN SOIL: As mentioned above, planting in soil can be risky if you don't know what was there before you. Home kits aren't reliable, professional tests are expensive, and it's impossible to test every square inch. If you have any doubts, you're better off planting in containers. The extra work is worth the peace of mind!
Let the fun begin!
- Arrange the planter containers on your garden site so that all the plants get as much sun as they need. Think about what each plant will look like when it's full grown, and plant taller plants farther north than shorter plants. That way, the shorter plants don't get overshadowed by the taller plants.
- Make sure your containers have adequate drainage by poking holes in their base. Line insides of the planter containers with landscaping cloth.
- Fill your containers with a mixture of moistened soil and organic fertilizer, leaving about an inch at the top.
- Follow the directions on the back of your seed packets to plant your seeds. When you plant your seeds, consider the plant first, vegetable second. Be conscious of what the plant looks like, and how that will affect the other plants around it.
- After you plant the seeds, cover them with about an inch of soil (or as directed), and then cover the planters with a layer of landscaping cloth to seal in the moisture and reduce the amount of water your boxes need. Adding a layer of landscaping cloth also reduces the time spent on weeding planter boxes.
- If you started your plants indoors, you will have to spend about a week or two "hardening" them. Take your plants outside for the day and bring them back inside for the night. This toughens them up so they're ready to be planted. Once the seedlings are ready to be transplanted, remove them gently from the cups they were started in and plant them in a shallow hole in your garden.
Action
Creative Planters? -
We want to see pictures of your creative planters! Send us links, and share your tips for planting a great garden.
Please enter your comments in the "Public
Discussion" section below.